Tracking Garments
Print
Modified on: Mon, 18 Jan, 2021 at 12:23 PM
The garment tracking module is meant to monitor garments as they move through any process. This is accomplished by scanning the garment at any of the checkpoints in the process. To illustrate this, we are going to model a very common process. We will track garments as they move from a Store, into the Truck and then to the Plant.
1. To access the Tracker module, simply click on the Tracker button on the Main Menu.

2. Once in the Tracker module, click the Add Attribute button to begin modeling the process you wish to track.

3. A modal will appear, here you fill out the details of the first checkpoint. In our example, this will be the store. We add the following fields:a. Name: The name of the attribute you are creating.
b. Icon: Select the icon you wish to use for this button. The icon you select does not affect how the button or the process behaves. The icon only serves as a visual reminder of the purpose of the button.
c. Class (Color): This is the color of the button you are creating. It has no effect on how the button or the process behaves, it is only the color that will be applied to the button.
d. Order: This is the order in which the buttons will appear. It does not have an effect on the process, but ideally, you will use it to place the buttons in the chronological sequence of the process.
Once the details have been entered, press the Add button.

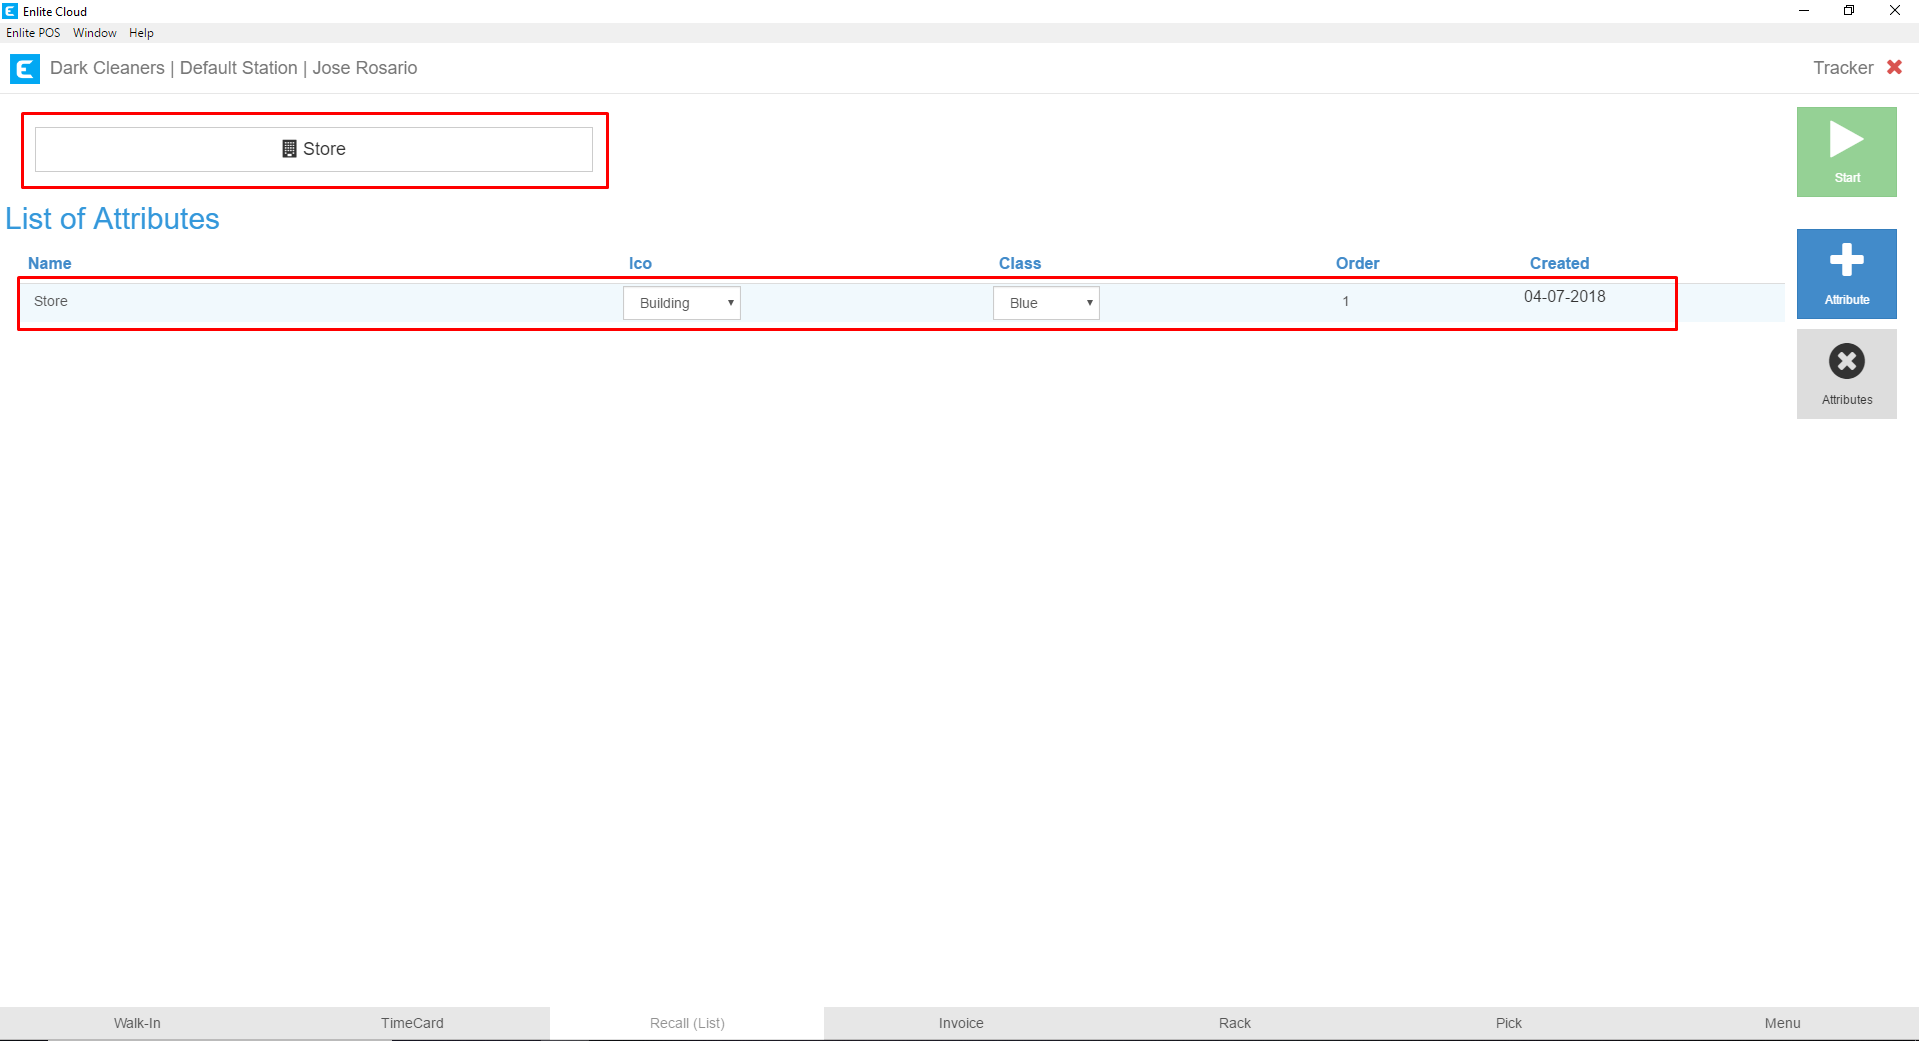
4. After pressing the Save button you will be shown the button you created on the top and its details listed on the bottom. Please note that the details of the attribute, such as Name, Icon, Class, Order can all be clicked on and edited if additional changes are necessary.
5. We repeat the same actions from steps 2 and 3 to create additional attributes. Here, we have created the remaining checkpoints for the process we are modeling. I have added a button for the Truck and a button for the Plant location.

6. With all the buttons for our process added, press the Close Attributes button and we can begin using the module to track items.

7. This is what the screen will look like when you first use it. It will show the Attribute buttons for each checkpoint we created in our process. In our process, it is safe to assume that all garments begin at the store which is where the garments are being received from the customers. So, we don’t have to tag each one to the store at this time. But we will be sending all these garments from our store to the Plant for them to be cleaned. The first step is to place the garments in the truck. So to begin, we will select the Truck attribute and then press the Start button.

8. On the next screen, you will add an invoice number manually, or scan a garment barcode and press the Add button to apply the Truck tag to the invoice or barcode. If you are using a barcode scanner, you do not have to press the Addbutton, with each scan, the code will automatically be added.
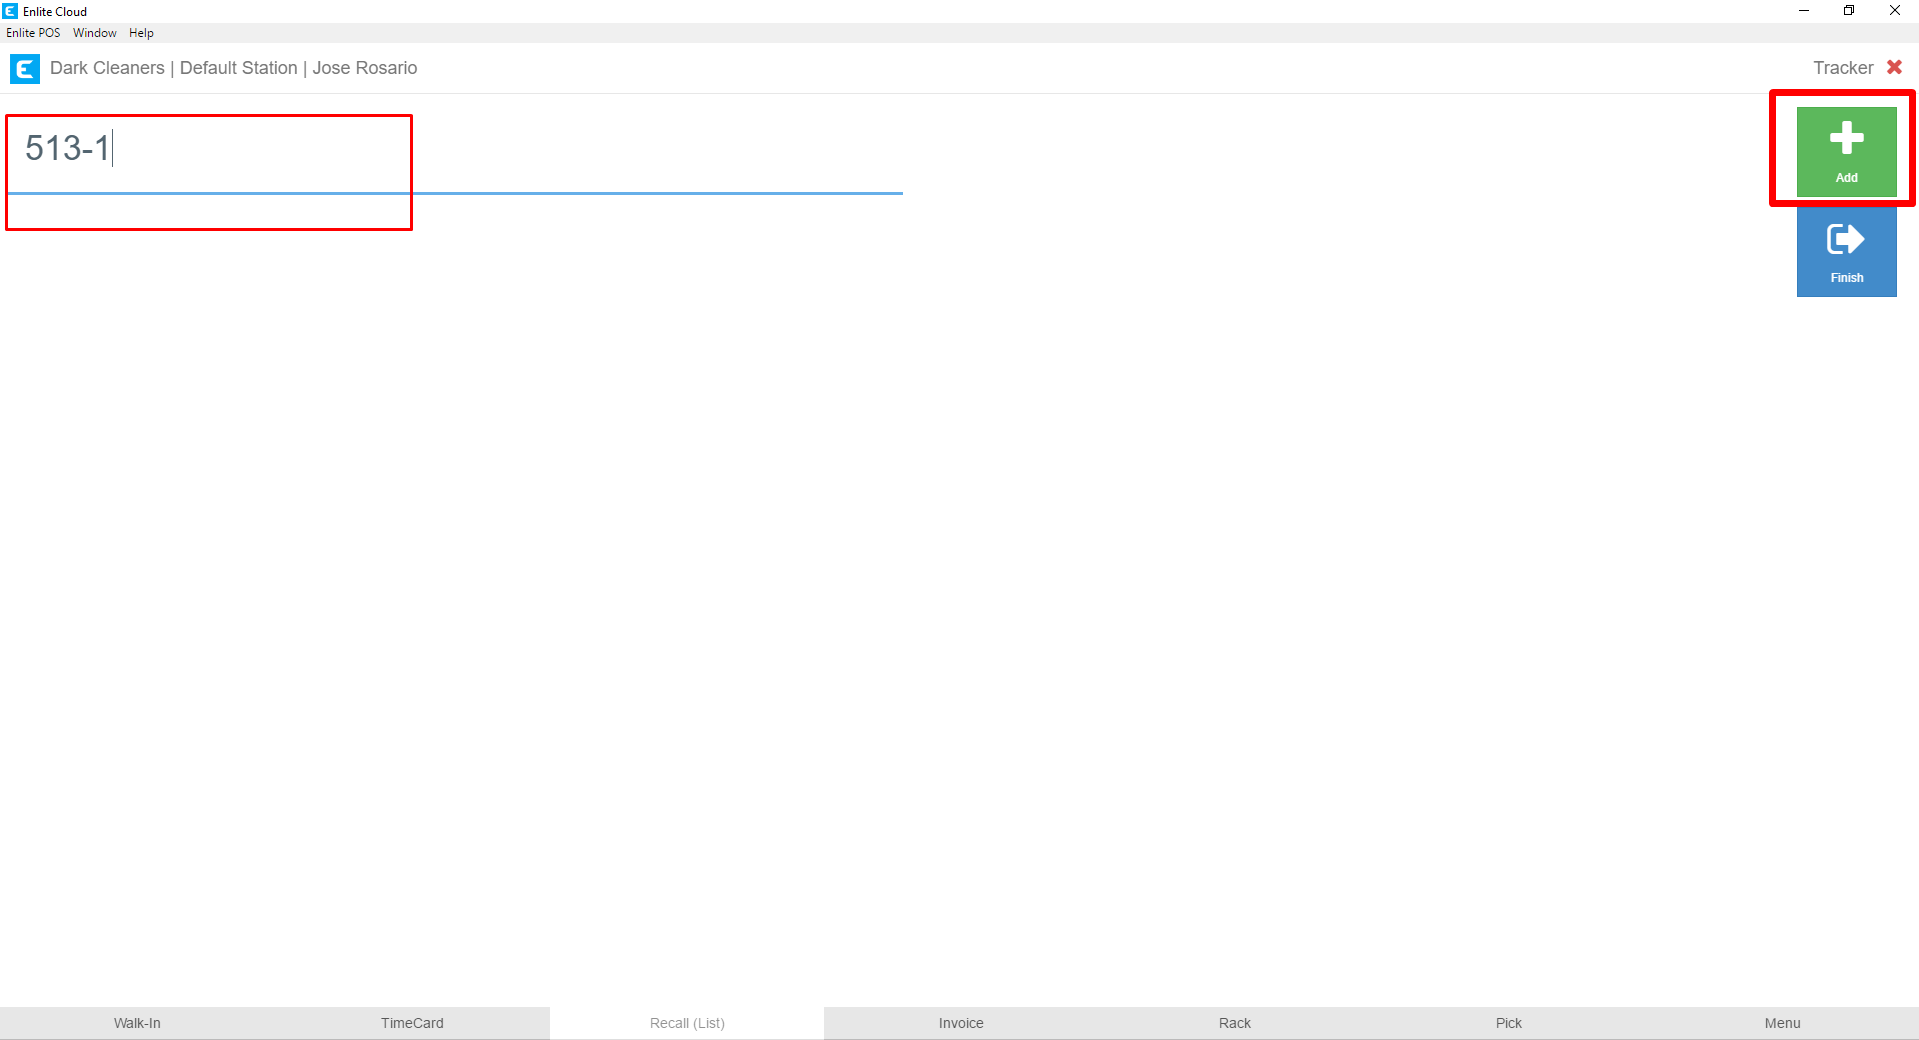
9. I’ve added a few items under the same attribute. It’s important to note that the system does not require you to select the attribute before each scan. For speed, the system will apply the selected attribute to all the items being scanned until the user, selects to stop using that attribute. So, the ideal configuration for our process would be a person standing next to the truck and scanning each garment or invoice as they enter them into the truck. The system will run on tablets and work with wireless scanners to give the employee maximum mobility. For each scan a few elements are displayed on the screen:a. This is showing the list of garments or invoices that have been scanned. In our case, we are using invoices, so the garment field is left blank. If we were scanning barcodes tied to garment, the garment information would appear in the first column.
b. Invoice and Garment information. This displays the invoice number that was just scanned, with some information about the order.
c. Displays the attribute being applied to each invoice or garment scanned. This is so the employees don’t forget what attribute they are working with.

10. When the user has scanned or entered all the items, they press the Finish button.

11. After pressing the Finish button, the user will be returned to select the next attribute to work with. When the Plant receives the clothing, they can be tagged with the Plant attribute. At each checkpoint in the process, the garments are scanned and tagged with the attribute for that checkpoint. This is a very flexible way to model your processes. You can add as many checkpoints or model as many processes as you need.

12. This is a bit out of scope for this guide, but just to round out the process. From the Reports section you can run reports to see the items that were tagged with an attribute during a given period. Feel free to explore the reports in the Reporting module.

Did you find it helpful?
Yes
No
Send feedback Sorry we couldn't be helpful. Help us improve this article with your feedback.